Scheduling content is the heart of Planer: you write it once, choose when it goes out, and forget about it. This guide takes you from idea to scheduled post.
Before you start
Make sure you have at least one social account connected. If you haven't done that yet, follow the guide to connect Instagram.
Create the post
- In the dashboard, click New post (or click a day on the calendar).
- Choose the account or accounts you want to publish to.
- Write your caption.
- Upload the images or video you want to include.
You can write one caption for several networks and tweak the details for each one without starting over.
Choose when it goes out
You have two options:
- Publish now: the content goes out immediately.
- Schedule: pick the date and time. Planer publishes it for you automatically.
Best times to post
If you're not sure when to post, start with the times when your audience is usually most active. Over time, analytics will show you what works best.
Review and confirm
Before you schedule, check:
- That the caption has no mistakes.
- That the images look right in the preview.
- That the date and time zone are correct.
When everything is ready, click Schedule. You'll see your post on the calendar, ready to go out on its own.
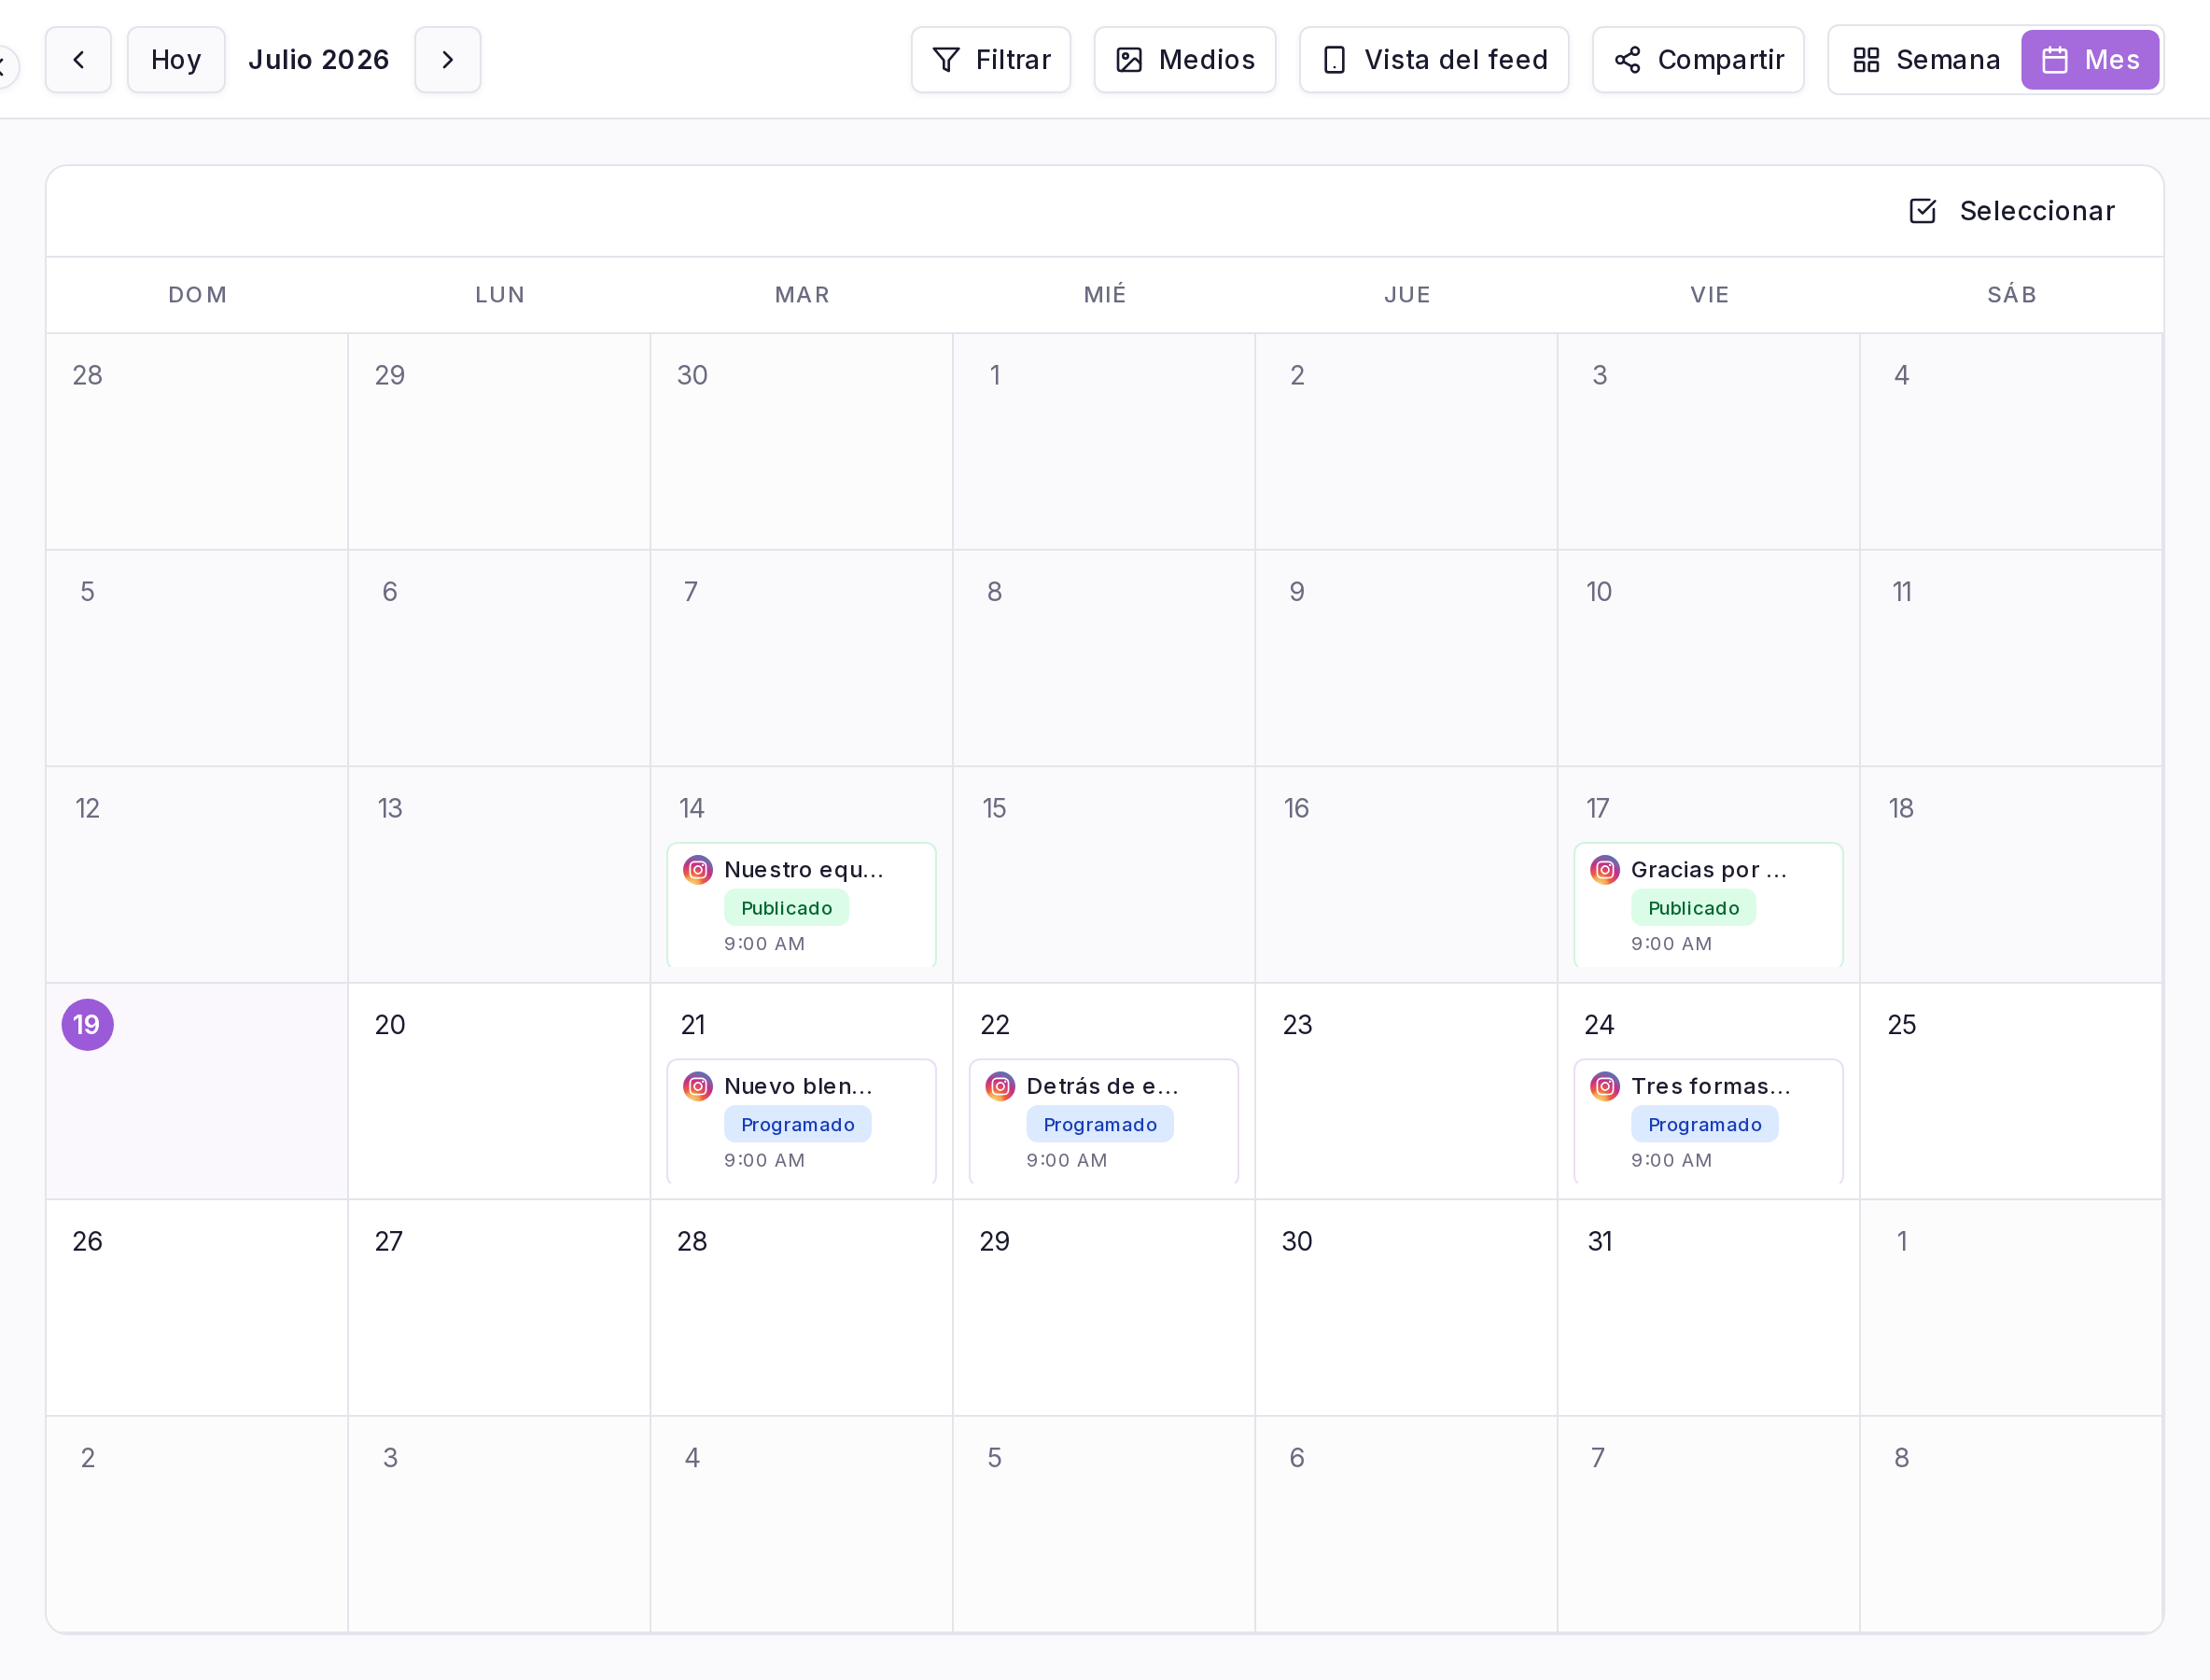
Done! You've scheduled your first piece of content. Repeat the process to fill your calendar for the week.